


2.2.3 Hands-on: Running the tests
Course subject(s)
Module 2. Functional Testing
Let’s make sure the tests we wrote in the previous video works in your machine. Follow the steps below:
- Open your project in IntelliJ.
- Inspect the LeapYear class that is in the nl.tudelft.ontesting.leapyear package. This is the production code we want to test (if you want to use IntelliJ’s shortcuts, you can press the shift key twice and then type the name of class).
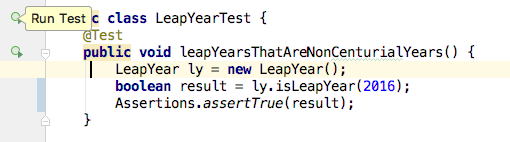
- Now, go to the LeapYearTest class. This class is also on the same package, but now on the test source folder.
- You should see the 4 tests we wrote together in the video. Take some time to read and understand the source code.
- Let’s run them. Let’s start by running a single test: the leapYearsThatAreNonCenturialYears(). Click on the green circle that is at the left of the method declaration, and then, Run leapYearsThatAreNonCenturialYears.
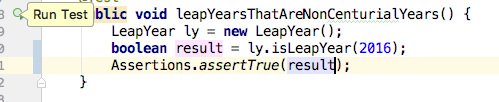
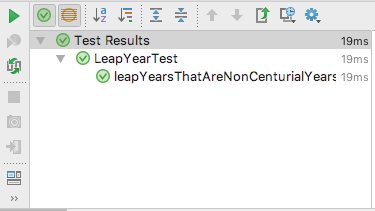
- You should see, at the bottom of your IDE, the results of the execution. The test is green, which means that our program behaves as expected for this partition.
- Let’s now run all the tests in this class. For this, you should click at the green circle that is at the left of the class declaration, and then, Run LeapYearTest.
-
- We now see the four tests being executed. All of them green, which means our software works!

Well done!
- We now see the four tests being executed. All of them green, which means our software works!

Automated Software Testing: Practical Skills for Java Developers by TU Delft OpenCourseWare is licensed under a Creative Commons Attribution-NonCommercial-ShareAlike 4.0 International License.
Based on a work at https://online-learning.tudelft.nl/courses/automated-software-testing-practical-skills-for-java-developers/.