


3.5.2 Quadcopter tutorials
Course subject(s)
Module 3. Autonomous Navigation
This is an additional section for this course. So it’s NOT required, but we encourage you to look at this in case you are interested.
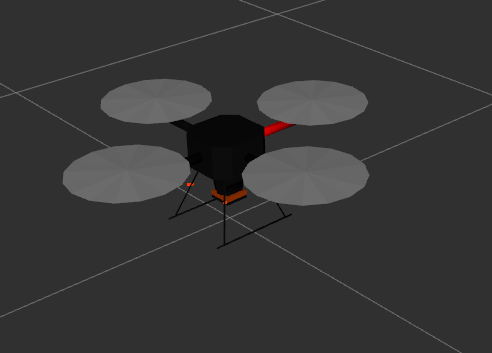
In this Tutorial we will get you started with a quadcopter in simulation. We will use the Hector Quadcopter. Before you start this tutorial, make sure that you have installed all the required packages.
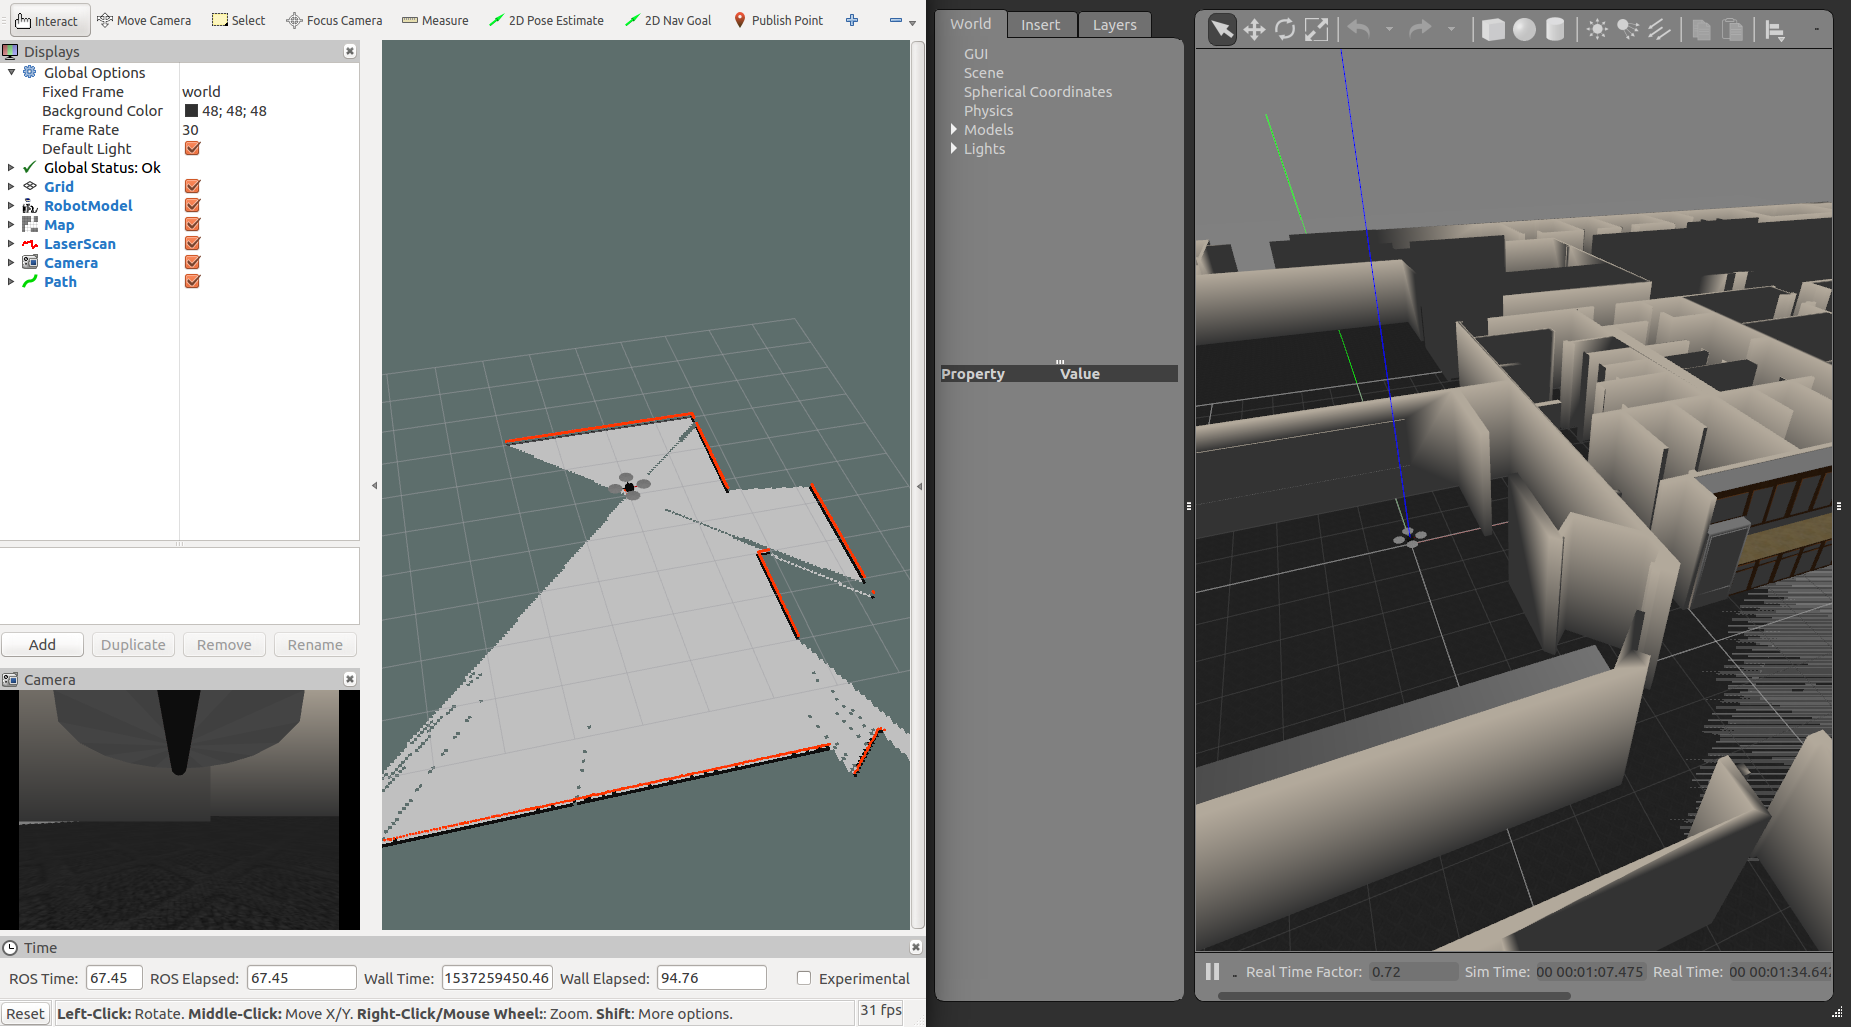
Start off by simply launching the simulation:
$ roslaunch hector_quadrotor_demo indoor_slam_gazebo.launch
You should see both Gazebo and Rviz running on your screen right now.
Now, just like with the TurtleBot, let’s try to publish some velocity commands. We have used this command for the TurtleBot:
$ rostopic pub -r 10 /ANS_Q4 \geometry_msgs/Twist '{linear: {x: 0.1, y: 0, z: 0}, angular: {x: 0, y: 0, z: -0.6}}'
Now, what would we need to change to use this for this drone? First of all, we need the drone to fly upward and not move forward. Therefore, for the twist message attribute ‘linear’, we will need to set z to larger values and set x to zero. If we just want the robot to move upward with no rotation, then the angular vector should be set to the zero vector. Finally we need to check the proper topic name to publish to. This gives us the following command:
$ rostopic pub -r 10 /cmd_vel geometry_msgs/Twist '{linear: {x: 0, y: 0, z: 0.8}, angular: {x: 0, y: 0, z: 0}}'
Does your drone fly? Probably not. That is because your motors are not enabled yet. Now publish the following velocities to make sure the drone stays still when the motors are enabled:
$ rostopic pub /cmd_vel geometry_msgs/Twist '{linear: {x: 0, y: 0, z: 0}, angular: {x: 0, y: 0, z: 0}}'
/enable_motors. Find information about this service, and try to enable the motors. It’s simply done using the following command:
$ rosservice call /enable_motors "enable: true"
Now let’s make the drone fly upward and then fall down again using the following command:
$rostopic pub /cmd_vel geometry_msgs/Twist '{linear: {x: 0, y: 0, z: 0.8}, angular: {x: 0, y: 0, z: 0}}'
teleop_twist_keyboard package.
$ sudo apt-get install ros-kinetic-teleop-twist-keyboard
$ rosrun teleop_twist_keyboard teleop_twist_keyboard.py
On the screen you will see the following instructions:
Reading from the keyboard  and Publishing to Twist!
---------------------------
Moving around:
   u    i    o
   j    k    l
   m    ,    .

q/z : increase/decrease max speeds by 10%
w/x : increase/decrease only linear speed by 10%
e/c : increase/decrease only angular speed by 10%
anything else : stop

CTRL-C to quit
- hector_quadrotor page: this will give you an overview, the required packages and some basic tutorials to get you started like outdoor flight.
- hector_slam package and take a look at tutorials such as: How to set up hector_slam for your robot and How to build a Map Using Logged Data.
- Look at other ROS-based project like Parrot, Robust Indoor 3D SLAM Algorithm and list of ROS Aerial robots.

Hello (Real) World with ROS - Robot Operating System by TU Delft OpenCourseWare is licensed under a Creative Commons Attribution-NonCommercial-ShareAlike 4.0 International License.
Based on a work at https://online-learning.tudelft.nl/courses/hello-real-world-with-ros-robot-operating-systems//.