


4.2.5 Extra Info: Laser Cutting
Course subject(s)
Module 4 – Scale and Context
In Module 3, 4, 5, and 6 we have added some extra information about specific model-making techniques. This is not related to the main topic of the week and it is not a technique that you are required to use in the challenges. It is just to provide you with some extra knowledge about possible methods of making models that you may wish to try out in the future.
This week we will give extra info about Laser Cutting.
What is a laser cutter and how does it work?
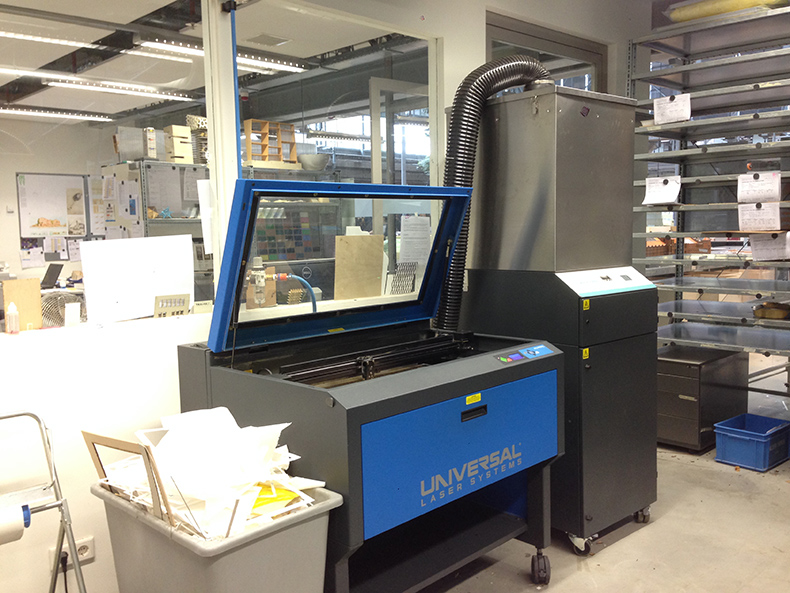
Some of you might have heard about laser cutting, and maybe some of you have even used a laser cutter. It is a great tool for prototyping and model-making. We advise you to look out for places where you can learn to use one. Look for Fablabs, makerspaces, hackerspaces, or maybe even a FabCafe that could be located near you.
Laser cutting is a technology that uses a laser to cut materials. A computer controlled machine steers a focused laser beam across the surface of the material making it a CNC technique. This burns / vaporises the material in a very controlled manner, allowing high precision. Laser cutting is being used in industry since 1965, but has become available to a growing audience since the early 2000s with the advance of FabLabs and the increase of commercially available smaller, (slightly) cheaper and (slightly) more user-friendly, laser cutting machines.
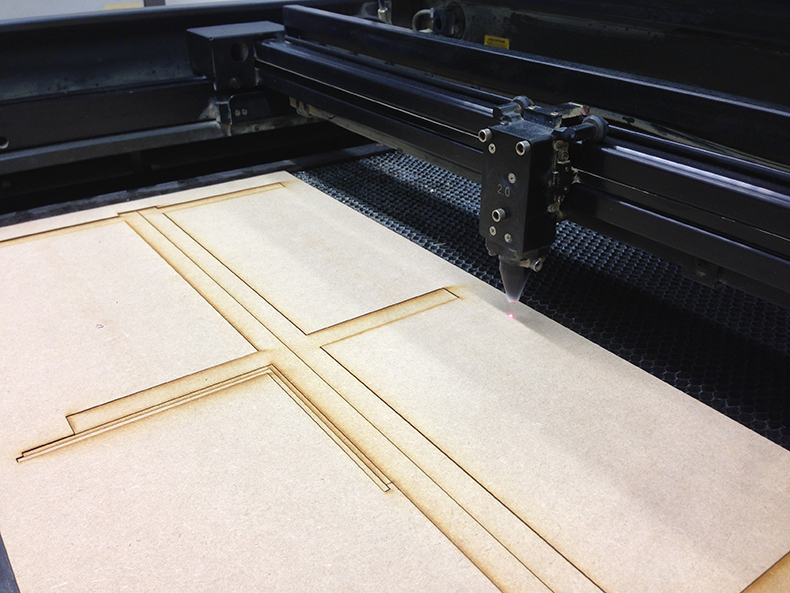
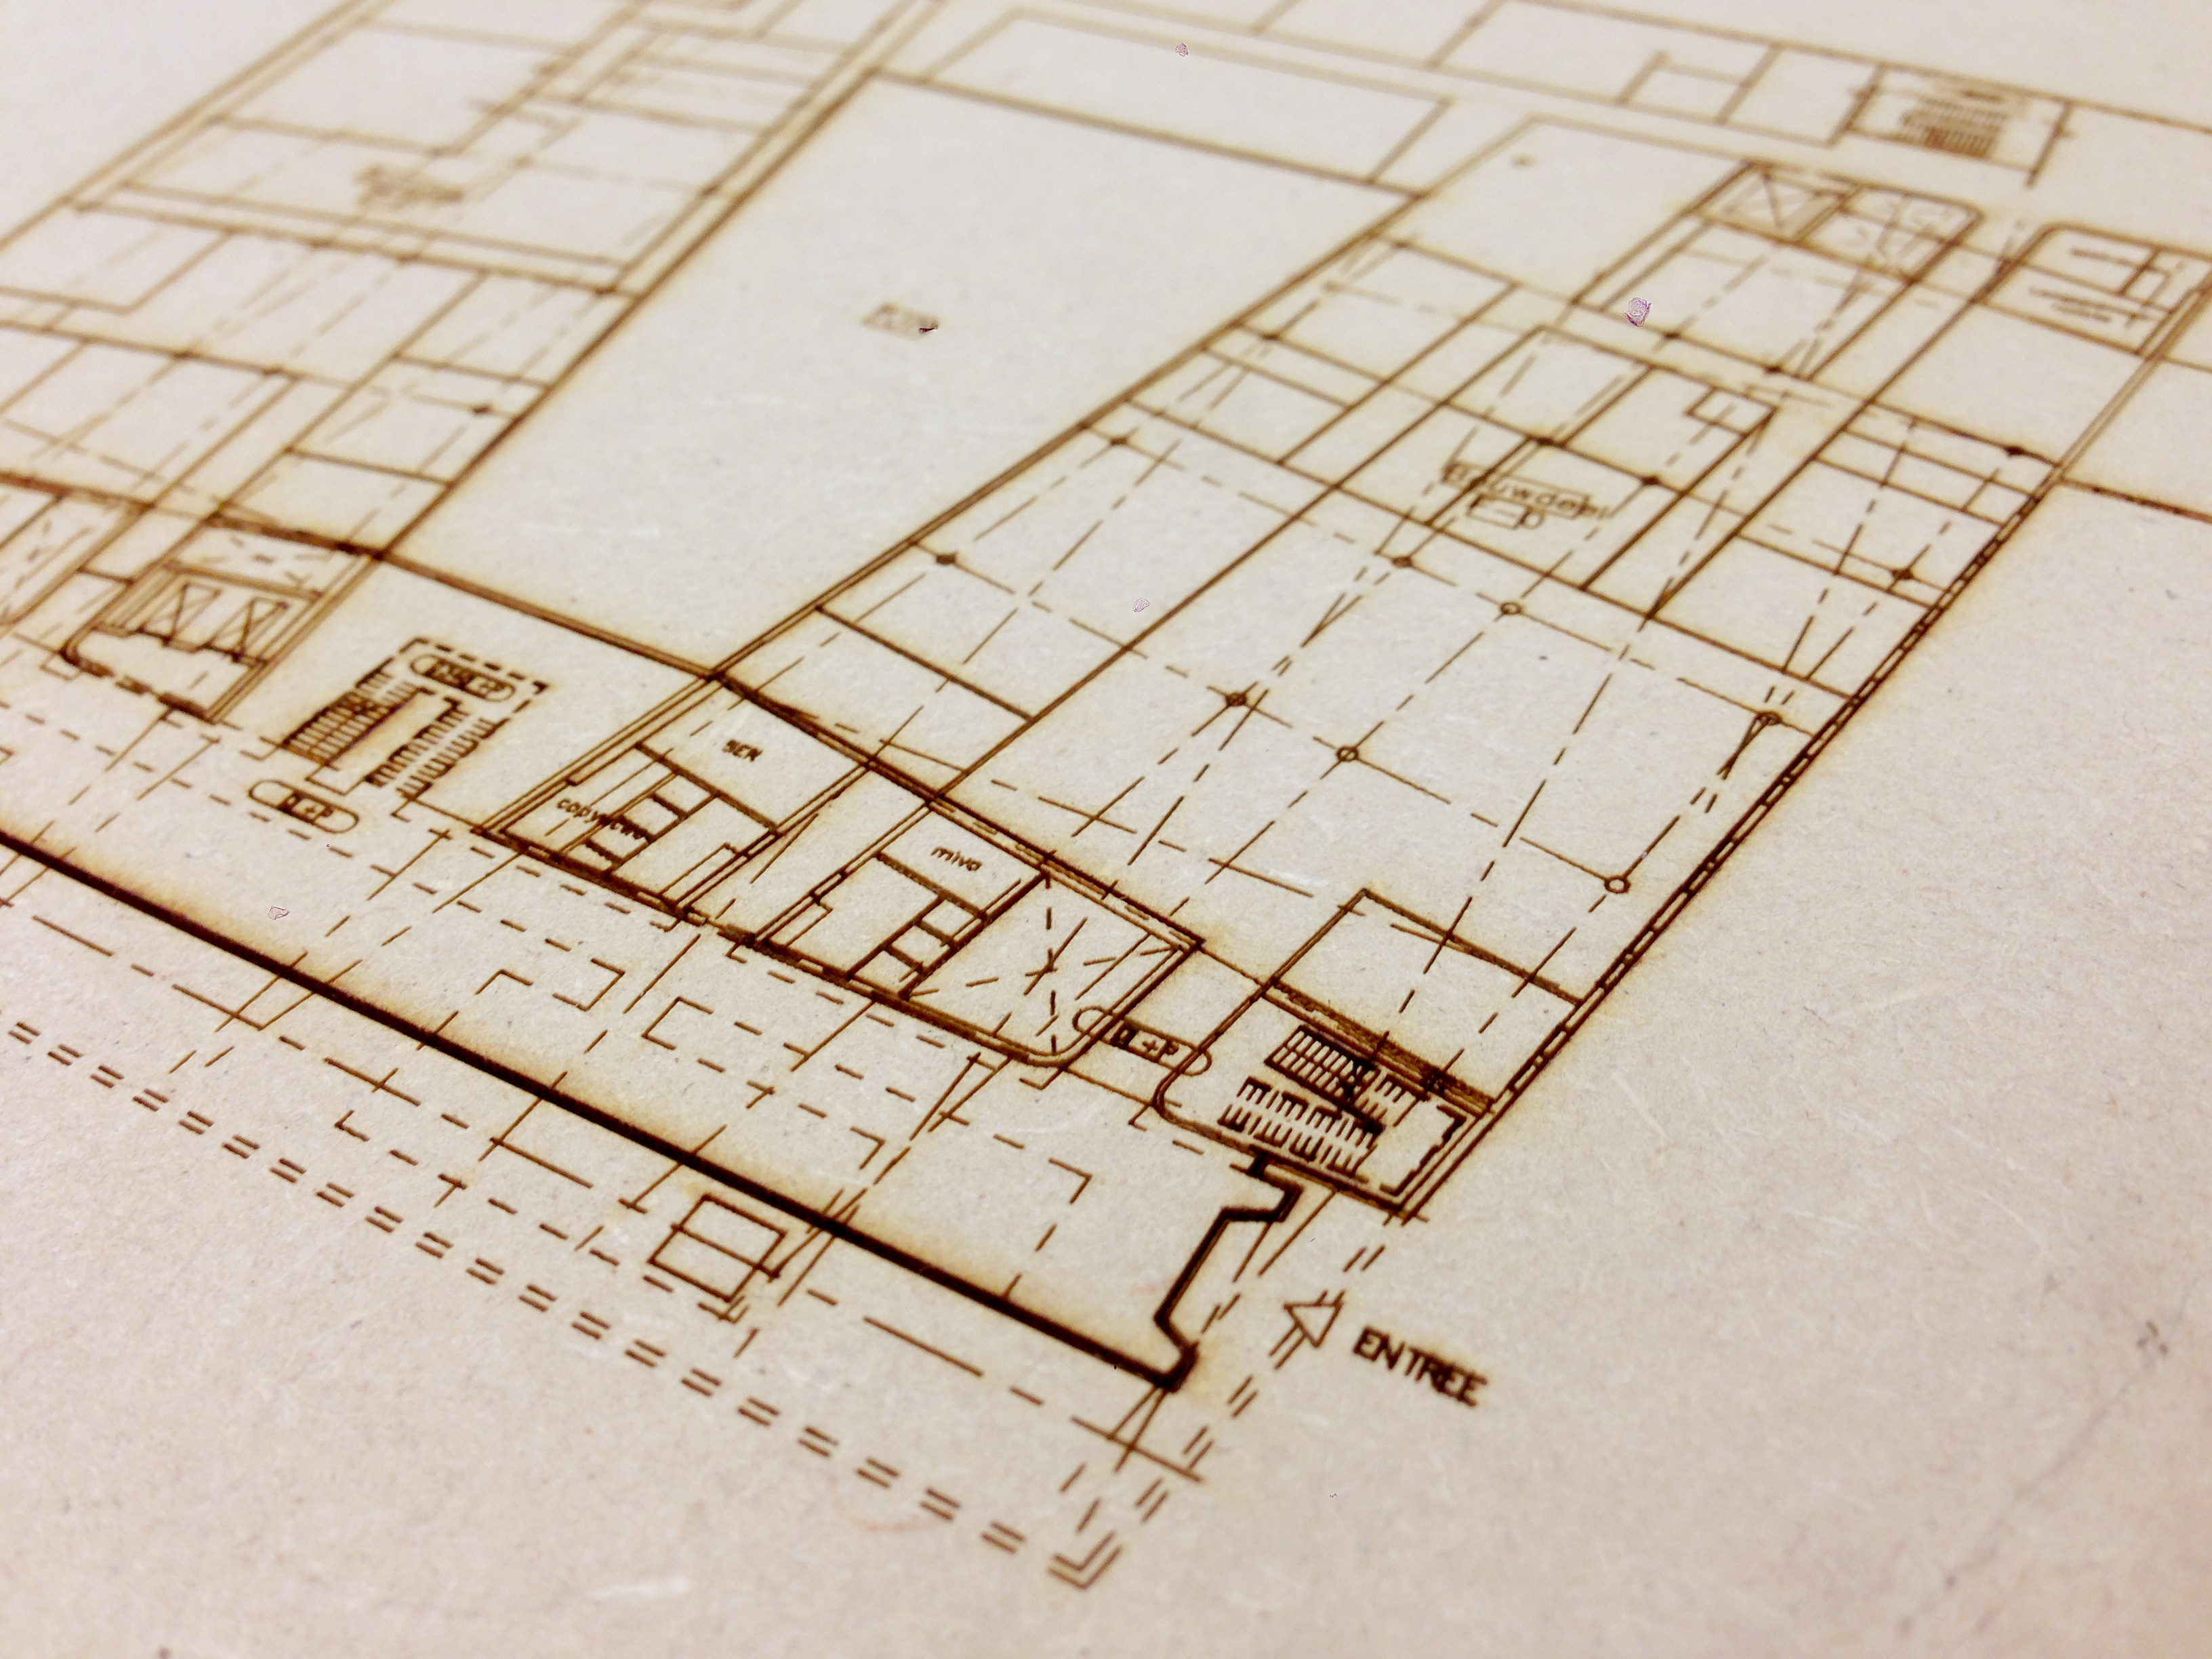
The laser can perform 3 different types of operations: cutting, vector engraving and raster engraving (or etching). On modern ‘workshop’ and ‘desktop’ laser cutters, it is possible to send a drawing to the machine similarly to when using a regular printer. Different operations can be combined in one job – when ‘printing’ the different line colours are translated into the right operations, which are typically either ‘cut’ or ‘engrave’.
Left: Laser cutting. (CC Jared Tarbell) / Right: Line engraving (lower power)
Left: Raster gray-scale image engraving. Line by line quickly varying laser power. (CC .dh) / Right: combined techniques and materials.
When to use it / When not to use it?
If you have access to a laser cutter you will have noticed the main qualities – speed and precision. This allows for new ways of working, and a more digital workflow where design adaptations can be produced and tested quickly (also called rapid prototyping). So it is not just a technique for final presentation models or prototypes, but a tool that can be used during the entire design process.
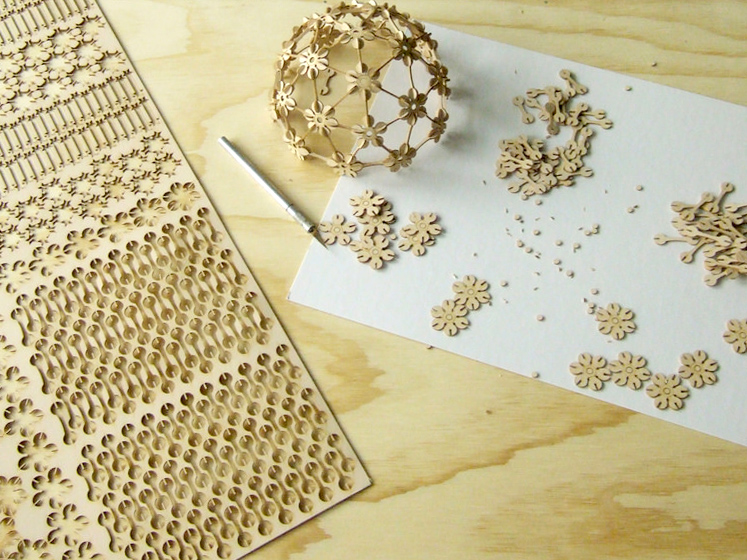
From the examples shown on this page you can already see that laser cutting is a very versatile technique. It is hard to show all possibilities here, so if you need inspiration, just Google image search the new terms you have learned – ‘laser cutter’, ‘vector engraving’, etc. Below are some examples of some more specific laser cutting techniques.
Special tools / Techniques
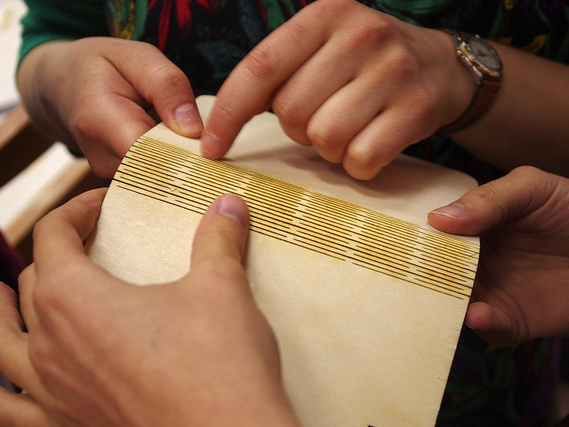
Slicing
Slicer for Autodesk Fusion 360 can ‘slice’ 3D models smartly into laser-cuttable 2D shapes. See this blogpost + video.
Similar scripts and tools exist for other 3D software, but Slicer is the most advanced one currently. Kiri:Moto is one for Onshape.
Unfolding.
3D models can also be flattened, unfolded, developed, or unrolled into a “paper model” by software or scripts.
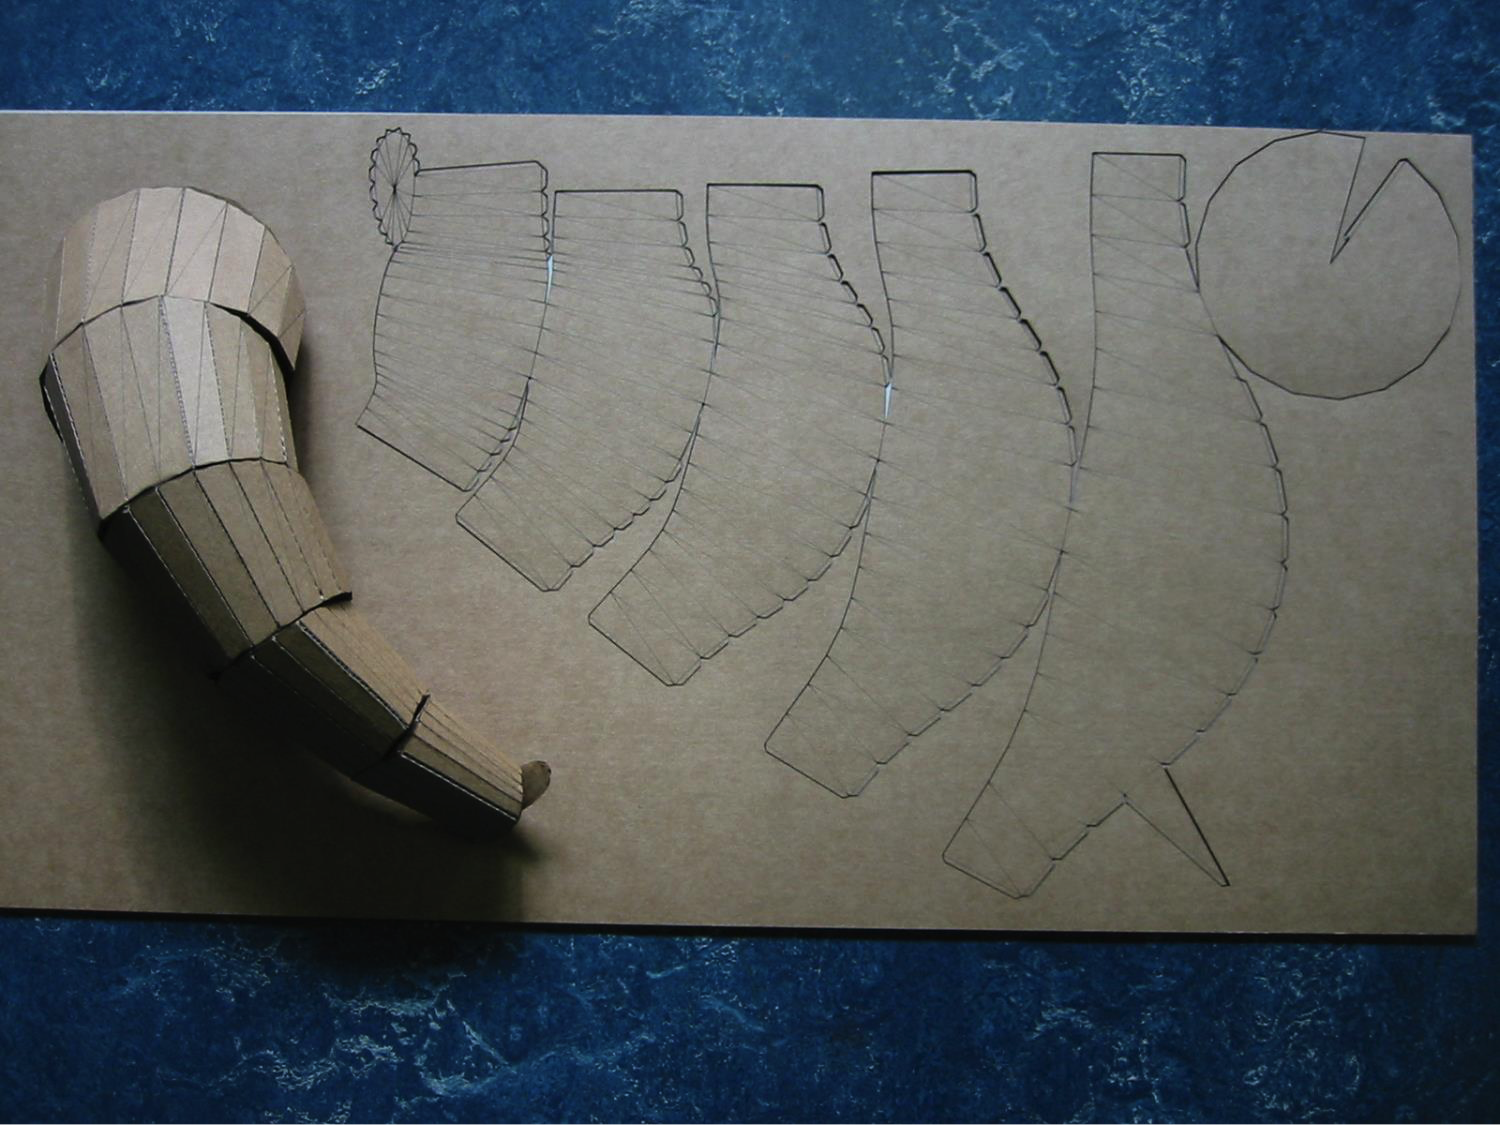
Some examples of software:
- Unwrap and flatten faces for Sketchup.
- Pepakura
- Unrolling in Rhino (video)
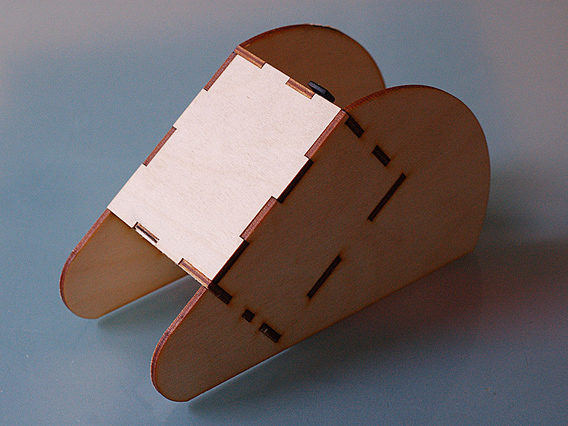
Left: Custom box with finger joints (CC David Sjunnesson) / Right: Laser cut acrylic parts joint by half-lap Joints. (CC wundram)
MakerCase and MakeABox are websites where you can easily create custom boxes. These are ‘parametric designs’.

Models in Architecture by TU Delft OpenCourseWare is licensed under a Creative Commons Attribution-NonCommercial-ShareAlike 4.0 International License.
Based on a work at https://ocw.tudelft.nl/courses/models-architecture-design-physical-digital-models/.